Measurement tool tips and tricks
-
In this page you’ll find some beneficial tips and tricks for the new Measurement tools available from 25.3.0 onwards.
Length & Path Length Tool
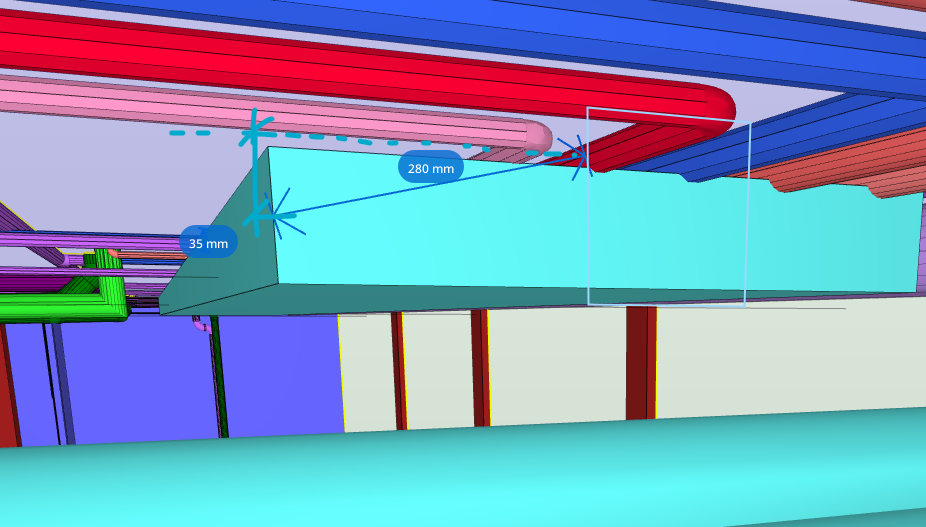
The Length tool allows measuring distances between two points.

The Path Length tool enables measuring multiple connected distances in one go.

Angle Measurement Tool
The Angle tool allows measuring:
- Edge to Edge Angles
- Face Angles
- Three-Point Angles
- Slope of Faces and Edges (Single Click Measurement)
- Press
Enterto accept the measurement before selecting a third point.

Face & Polygon Area Measurement
The Face Area tool allows measuring the area of a single face, while the Polygon Area tool calculates the area enclosed by multiple points.

Press
Enterto complete a loop when using the Polygon Area tool.

Volume Measurement
The Volume tool calculates the volume of a selected BIM component.

Coordinate
The Coordinate tool retrieves the exact XYZ coordinates of a selected point.

Snapping & Precision Controls
To ensure precise measurements, snapping functionality is available:- Snap to edges, faces, and points to accurately measure elements.
- Hold
Shiftto snap to the axis, restricting movement along X, Y, or Z directions. - Hold
Cmd(Mac) /Ctrl(Windows) to select the whole component instead of just an edge, face, or vertex. - Snap interaction is highlighted visually when measuring.
Measurement Visibility & Control
- Measurements appear in the Measure View panel.
- Users can toggle visibility for each measurement.
- Measurements can be individually deleted from the list.

Zoom & Focus in 3D View
- Double-clicking a measurement in the table will automatically zoom in and focus on the measurement in the 3D model.
- This helps users quickly locate and inspect measurements within the BIM environment.
Keyboard Shortcuts for Measurement Tools
-
Shift– Snap to axis while measuring. -
Cmd/Ctrl– Select the whole component instead of edge/face/vertex. -
Esc– Cancel the current measurement. -
Ctrl + Z/Cmd + Z– Undo last measurement point. -
Delete– Remove a selected measurement. -
Enter– Accept the measurement or complete a loop in Polygon Area.
Measurement settings

Users can customize their measurement display preferences through the Measurement Settings panel. This allows adjusting:
- Text Size: Control the size of the measurement labels (8px to 24px).
- Line Thickness: Adjust the thickness of measurement lines (1 to 10 scale).
- Line Color: Change the color of measurement lines.
- Highlight Color: Modify the highlight color for selected measurements.
- Text Color: Customize the text color of displayed measurements.
- Auto-hide measurements: Automatically hides measurements when zooming out.
- Display measurements in front of components: Keeps measurements displayed in front of components.
- Restore Defaults: Reset all settings to their original values.
-
 T tonigyllenberg referenced this topic on
-
T tonigyllenberg referenced this topic on
-
@tonigyllenberg
Do you have an example how the snap to axis feature works? I have tried to test it, but can’t seem to figure out how it exactly works
-
@Ricardo said in Measurement tool tips and tricks:
@tonigyllenberg
Do you have an example how the snap to axis feature works? I have tried to test it, but can’t seem to figure out how it exactly worksI’m also struggling to get this feature to work.
How can I snap to the Z-axis in order to measure vertically between two points? (Meaning when not measuring against a plane.)
-
T tonigyllenberg pinned this topic on
Copyright © 2025 Solibri Inc. | Powered by NodeBB